
Last updated November 16, 2026
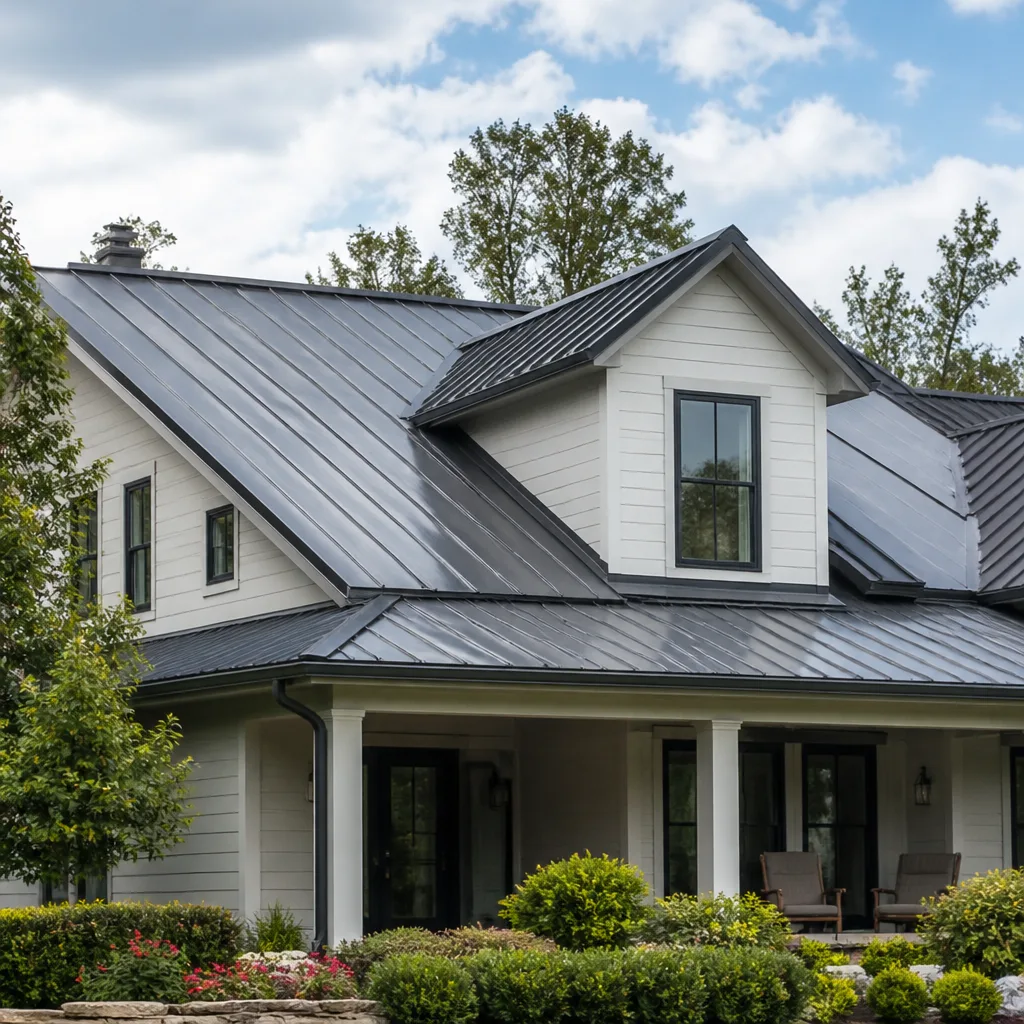 Metal roofing
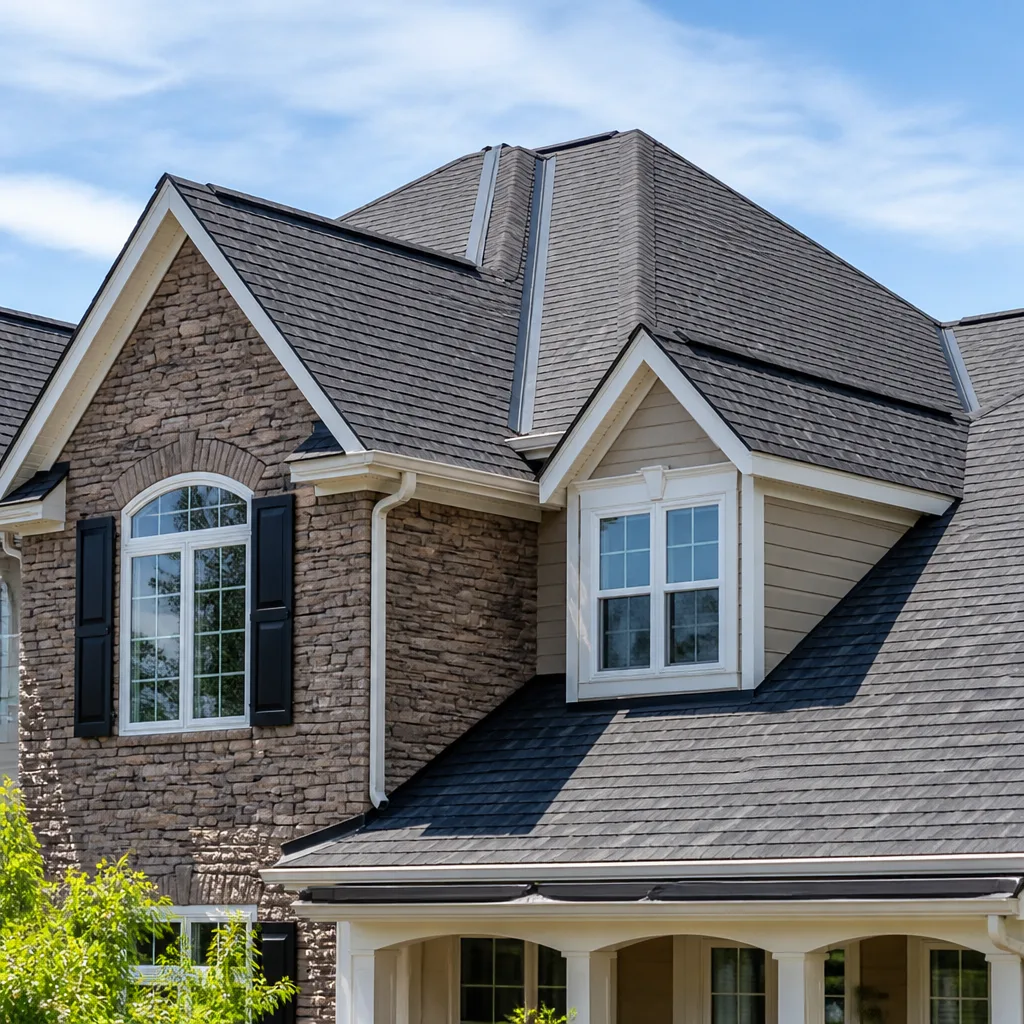 Architectural shingles
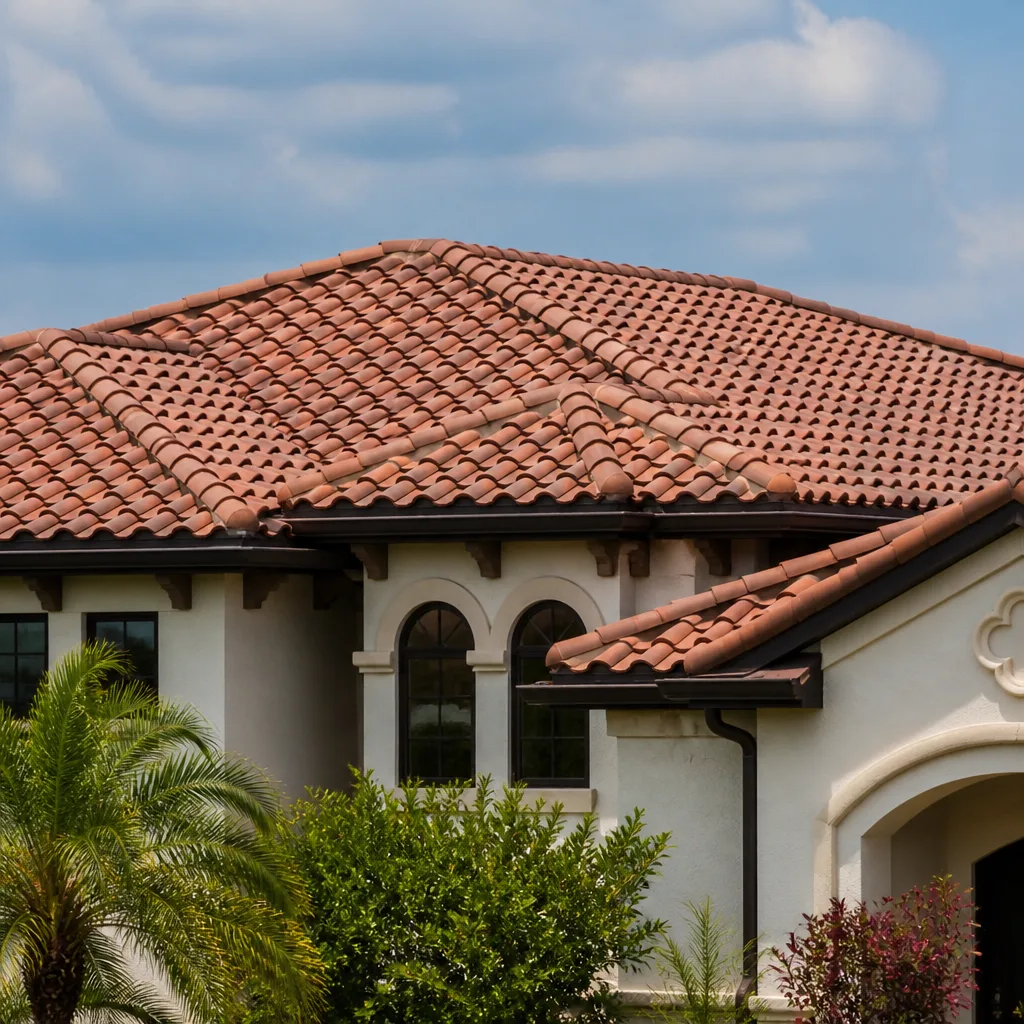 Tile roofing
 GAF
 Owens Corning
 Flat & low-slope
Free roof inspection with deck photos before we talk money - GAF and Owens Corning certified installation
Roofing Emergency Preparedness Guide for Ventura Homes
Most roofing emergencies in Ventura don’t arrive with a hurricane name or a dramatic hail event. They arrive sideways, on a dry December night, pushed by Santa Ana winds. Or they arrive invisibly, when embers from a fire burning miles away settle onto a roof and quietly compromise the underlayment beneath shingles that still look perfectly fine from the street. Homeowners often don’t discover the damage until the first real rain of the next season, by which point a small problem has become a ceiling stain, a soggy ridge vent, and a much larger repair bill. This guide walks you through Ventura’s three real emergency triggers – wind uplift, wildfire ember intrusion, and post-drought rain saturation – and gives you a clear response plan for each. You’ll learn what to do in the first hour, what to document for your insurance claim, how to tarp correctly without making things worse, and how to spot a predatory contractor before you sign anything.
Quick Answer
Roofing emergencies in Ventura are most often caused by three things: Santa Ana wind uplift, wildfire ember intrusion from distant fires, and rapid rain saturation after extended dry periods. Preparedness means knowing your roof’s current condition before an event hits, having your insurance details and contractor contact ready, and knowing which temporary measures protect a claim versus which ones can void it. Emergency repair starts with a professional inspection, not a ladder.
Styles & brands we work with
- Architectural shingles
- Metal roofing
- Tile roofing
- GAF
- Owens Corning
- Flat & low-slope
Table of Contents
- Ventura’s Three Primary Roofing Emergency Triggers
- Santa Ana Wind Uplift: The First Hour and Beyond
- Wildfire Ember Intrusion: Damage You Can’t See
- Post-Drought Rain Saturation Events
- How to Tarp a Damaged Roof Section Correctly
- Your Pre-Season Emergency Kit
- How to Identify Predatory Post-Disaster Contractors
- Why Inspection-First Beats Guess-First
Ventura’s Three Primary Roofing Emergency Triggers
National roofing emergency advice is built around hail, snow load, and hurricanes. None of those are the story in Ventura. What actually damages roofs here falls into three categories, and each one has a different warning sign and a different response window.
Santa Ana wind events push hot, dry air from inland toward the coast, and they can accelerate quickly. The early indicator isn’t usually a missing shingle – it’s the sound of lifting. A shingle that flaps or rattles at a ridge or gable edge during a wind event has already broken its seal. Once the seal is broken, wind gets underneath and peels the course back. If you hear that sound, get a professional out to inspect before the next wind event, not after the roof starts leaking.
Wildfire ember intrusion is the least visible trigger. Embers can travel miles from a fire and land on a roof with no flames anywhere near the house. They lodge in ridge vents, in the gaps at valleys, and in any spot where underlayment is exposed. The heat can compromise underlayment without burning a visible hole in the shingles. This is the scenario that catches homeowners off guard: the roof looks intact, but its water barrier underneath is no longer doing its job. Early indicators include a faint scorched smell in the attic, dark discoloration around vent openings, and attic dust that looks different than usual.
Post-drought rain saturation happens after long dry stretches when both the soil and the roofing materials have dried out and shrunk. Shingle tabs that have dried and curled don’t lie flat, and flashing seals that have dried and cracked don’t reseal with the first drizzle. When a heavy rain event finally arrives, water finds every one of those small gaps at once. The early indicator is a ceiling or wall stain that appears in the first hours of a storm, or a new drip in the attic. Get an inspection before the first big storm of the season if your roof hasn’t been looked at in a while.
Santa Ana Wind Uplift: The First Hour and Beyond
When a wind event damages your roof, your response in the first hour matters more than anything else you do that week. Here’s the sequence we recommend:
- Get everyone away from the damaged area. If shingles or flashing are hanging loose, don’t stand under them. Keep kids and pets indoors and away from the exterior walls beneath the damage.
- Photograph from the ground, not the roof. Use your phone and zoom. Get wide shots showing the whole roof and close shots of the specific damage. Never climb onto a wind-damaged roof – the remaining shingles may be loose and the risk of a fall is high.
- Call your insurer to open a claim. Get the claim number in writing before you call a contractor. Document the date and time of the call and the name of the person you spoke with.
- Call a roofing professional for emergency inspection. You want a written assessment of what’s damaged and what’s still secure, not a verbal guess.
- Take only temporary protective measures. If rain is coming and shingles are missing, a professional tarp is acceptable. Do not attempt a permanent repair yourself.
What to document for insurance: the date of the wind event, photos of the damage from multiple angles, photos of any interior damage (ceiling stains, drywall cracks, wet insulation), your written inspection report, and a copy of your contractor’s written estimate. Insurers want a clear timeline. What you document in the first 24 hours becomes the backbone of your claim.
What can void a claim: making permanent repairs before the insurer inspects, discarding damaged materials before they’ve been documented, or signing a contract that includes language that assigns your claim to the contractor. We’ll cover that last one in detail further down.
Wildfire Ember Intrusion: Damage You Can’t See
Wildfire ember damage is the hardest emergency to diagnose because the roof often looks fine. The exterior shingles may be intact, but embers can compromise the underlayment and the ridge vent system underneath. In our experience, homes in Ventura that sat in the ember path of a large fire often don’t discover the damage until the first rain of the next season, when water shows up in the attic or runs down a wall that had no previous leak history.
Here’s the response sequence when a wildfire has burned anywhere in the region, even if your neighborhood didn’t:
- Do a smell test in the attic. If you smell smoke or scorching inside the attic after a regional fire event, that’s worth a professional inspection. Fire can travel through gaps the exterior doesn’t reveal.
- Check your ridge vents and valleys. Look for ember debris, dark spotting, or scorch marks around vent openings. Don’t remove vent covers yourself if you’re not sure how they attach.
- Get a professional inspection, not a visual once-over. The failure mode here is underlayment compromise, and you can’t see that from the ground. An inspection that checks the actual condition of the underlayment and the vent openings is what you need.
- Do not tarp unless there’s an active opening. If there’s no visible hole, a tarp isn’t the right move – it can trap moisture and make things worse. Get the inspection first.
- Document everything for insurance. Ember damage is often covered, but you need a professional inspection report that specifically identifies the cause. Photos of the surrounding fire damage help establish the timeline.
We’ve found that repair-first often saves homeowners thousands on this kind of damage. If the shingles are intact and only the underlayment in a specific section is compromised, we can replace that section and match the existing roofing material rather than replacing the whole roof. Because we install across several major shingle lines, including CertainTeed and Owens Corning, we can often match existing shingles during a repair – preserving the roof’s appearance and, in many cases, its manufacturer warranty continuity.
Post-Drought Rain Saturation Events
After a long dry stretch, both your roof and the ground beneath it have dried out and shrunk. Shingle tabs that have been baking all summer don’t lie as flat as they should. Flashing sealant that dried and cracked won’t reseal on its own. And the soil around your foundation has pulled away, so the first heavy rain has nowhere to go but sideways.
Warning signs to watch for at the start of the rainy season:
- Ceiling or wall stains appearing during the first significant rain
- Drips or dampness in the attic, especially near valleys and chimneys
- Water pooling against the foundation on the first storm day, which usually means the roof drainage isn’t keeping up
- Shingle grit accumulating in gutters (this is normal in small amounts, but a sudden increase suggests shingle breakdown)
- Any new leak in a location that hasn’t leaked in the past
The response sequence for a saturation event:
- Get buckets under the drip and photograph the stain right away. The size and location of the stain on day one is the baseline you’ll use for your insurance claim.
- Do not poke holes in the ceiling. If the drywall is bulging with trapped water, that’s a job for a professional – punching a hole yourself can cause a sudden collapse and a much bigger cleanup.
- Move furniture and valuables out of the way. Water travels along rafters and often shows up in a different room from where the roof leak actually is.
- Call a roofer for emergency inspection as soon as it’s safe to do so. Don’t wait for the storm to completely pass – a fast professional assessment protects the interior.
- Document everything for insurance. Photos of the ceiling stain, photos of the water damage on the floor or furniture, the roofer’s written inspection report, and the estimate.
In our experience, most post-drought leaks trace back to a small number of spots – dried flashing at a valley or chimney, a broken shingle seal at a ridgeline, or an aging pipe boot. A repair-first approach fixes those specific failures, which is much less expensive than a full replacement. Every emergency repair is done on the written estimate, with no change orders after the fact.
How to Tarp a Damaged Roof Section Correctly
A tarp is a temporary protective measure, not a repair. Done right, it keeps water out until a professional can make a permanent fix. Done wrong, it can extend the damage and give your insurer a reason to question the claim. Here’s the correct sequence, with the mistakes to avoid.
Before you do anything: Do not climb onto a damaged roof. If the damage is more than a small, easily reachable section at a low-slope edge, call a professional. Wind-damaged shingles, wet surfaces, and steep pitches are genuinely dangerous, and falls are the leading cause of home-injury emergencies during storms. A trained technician with proper fall protection should place any tarp above the ground floor.
If the damage is small and safely reachable, here’s the correct order:
- Size the tarp to overhang the damage by at least a few feet on every side. A tarp that just covers the damaged shingles will let water run underneath it and into the damage.
- Place the top edge of the tarp under the shingle course above the damage. This is the single most common error – laying the tarp on top of the shingles means water runs underneath it and channels into the roof. The top edge must tuck under the course above so water sheds over it.
- Anchor at the edges, not the middle. Use screws with washers or approved fasteners into a batten or the fascia, not nails driven through the tarp itself. Fasteners through the tarp create holes that grow into tears.
- Weight or strap it against wind. A tarp that fails in the next wind event can rip shingles off with it. Use strapping or a weighted batten along the bottom edge, and check it after the first hour.
- Document the tarp placement with photos. Your insurer will want to see what was covered and when.
The common DIY tarp errors that make damage worse: laying the tarp on top of the shingles, using only nails through the tarp, skipping the overhang, tarping over flashing or valleys so water reroutes under a different section, and leaving the tarp on for weeks instead of getting a permanent repair. A tarp left in place through the next wind event often tears away and takes shingles with it. Treat it as a 24- to 72-hour bridge to a professional repair, not a solution.
Your Pre-Season Emergency Kit
The time to prepare for a roofing emergency is before one happens. Put this together once, store it somewhere everyone in the household knows about, and check it at the start of every fire season and every rainy season. This is what you want ready:
- Your roofing contractor’s contact information, written down. Phone number and address. When the internet is down or your phone is almost dead, a piece of paper saved you the trouble. Call (833) 946-8911 to reach Hartwell Roof Repair; we answer 24/7, with fast dispatch from 7am to 7pm.
- Your homeowner’s insurance policy number and the insurer’s claims phone line. Keep both on paper. Know your deductible and whether your policy covers ember damage and wind damage separately.
- A photo record of your roof’s current condition. Take a set of wide and close-up photos from the ground once a year, and again after any major wind or fire event in the region. This gives you a clear “before” for any insurance comparison.
- A simple structural diagram of your attic. Sketch the layout: where the access hatch is, where the ridge line runs, where the main valleys are, where the vents are, and where the attic insulation is thickest. This helps a professional find the actual leak source fast during an emergency, and it helps you describe where the water is coming in.
- A recent professional inspection report. If you’ve had an inspection in the last year or two, keep the written report. It’s the starting point for any emergency diagnosis.
- A tarp and fasteners, only if you’re comfortable using them safely. Store a heavy-duty tarp sized to cover the largest single roof section, plus the fasteners and strapping described above. If in doubt, skip the tarp and let a professional handle it.
Write down who your emergency contacts are, and where the shutoff valves are for your water and gas. A roofing emergency often involves water, and knowing where the shutoffs are saves time.
How to Identify Predatory Post-Disaster Contractors
After a wind event or fire, out-of-area crews arrive quickly and start knocking on doors. Most are legitimate. Some are not, and the ones that aren’t do real damage in a short window. In our experience, the red flags are consistent, and a few simple checks protect you.
Check the license first. Every roofing contractor working in California should be able to produce a license number on request. Look the number up on the Contractors State License Board (CSLB) website before you sign anything. A legitimate contractor will hand it over without hesitation. A crew that can’t or won’t is the first red flag.
Refuse these contract terms outright:
- Any contract that assigns your insurance claim to the contractor. If the contract says the contractor will “handle the claim” and receive payment directly from the insurer, that’s a serious problem. You should always be the one negotiating with your insurer.
- Any demand for full payment upfront. A reasonable deposit is normal; the full job price upfront is not.
- Any contract with a “no cancel” clause or a cancellation fee for backing out within the legal cooling-off period.
- Any verbal promise that doesn’t appear in the written contract.
- Any pressure to sign “before the price goes up” or “before the crew leaves town.” Pressure is not a normal sales tactic for a legitimate roofing company.
Ask for a written estimate that separates labor and materials. A legitimate estimate lists what’s being replaced, what material is being used, and what the total is. If the estimate just says “roof repair” with a lump sum and no details, ask for the breakdown. If they can’t provide one, walk away.
Confirm the material brands. Legitimate roofing companies will tell you exactly which shingle brands they install. A crew that can’t tell you what brand of shingle they’re putting on your roof, or that refuses to match your existing material, is a red flag. We install and repair across several major shingle lines, including GAF, Owens Corning, IKO, and Atlas, so we can match existing roofs during a repair rather than forcing a whole-roof replacement.
Ask about permits. Most cities require a permit for a roof replacement, and sometimes for larger repairs. Ask whether the contractor will pull the permit. A crew that says the permit isn’t needed or offers to “work around it” is a crew you don’t want on your roof, because an unpermitted job can become your problem when you sell the house.
Why Inspection-First Beats Guess-First
The single biggest mistake we see homeowners make during a roofing emergency is accepting a diagnosis over the phone. Someone calls after a wind event, describes a missing shingle, and gets a verbal verdict of “you need a full replacement” without anyone going up to look. That’s not a diagnosis, it’s a sales pitch.
An inspection-first approach means a professional actually gets on the roof (or at least gets to a vantage point where they can see it clearly), checks the condition of the shingles, the flashing, the underlayment, the vents, and the attic side, and gives you a written report of what’s actually wrong. Only then does anyone talk about repair versus replacement.
We call this repair-first: fix what’s failing before recommending a full tear-off. In our experience across Ventura homes, a large percentage of the “full replacement” recommendations we hear about turn out to be repairable once someone actually inspects the roof. The difference matters, because a repair on a specific section costs a fraction of a full replacement, and if the existing shingles are still in good condition, a repair preserves the roof’s remaining service life.
A written inspection report is also what your insurer needs for a claim. It establishes the cause and scope of the damage and gives you a document to compare estimates against. When you call us, the inspection is the starting point. We assess before we recommend, and the written estimate sets the final price. No surprises after work starts.
Common Mistakes to Avoid
- Climbing on the roof after a wind event to “take a look.” Wind-damaged shingles are loose, the surface may be wet, and a fall is a much worse emergency than a leak. Photograph from the ground and let a professional inspect. This is the mistake we hear about most often, and it’s the most dangerous one.
- Calling your insurer before you’ve documented the damage. In a fire or wind event, the first question your adjuster asks is “when did you first notice it, and what does it look like?” The photos you take in the first hour are the ones that matter. Get them before you make phone calls.
- Tarping the wrong way. A tarp laid on top of the shingles can channel water under the roof and extend the damage. Tuck the top edge under the course above, or leave the tarp off and get a professional out fast.
- Signing a contract with an insurance-assignment clause. If the contract assigns your claim to the contractor, you lose control of the negotiation. Read the contract before you sign, and refuse any clause that assigns the claim.
- Accepting a “full replacement” recommendation without a written inspection. A verbal verdict from a phone call isn’t a diagnosis. Ask for the inspection report, and if the report says replacement, get a second written inspection from a different company. Two reports give you a real comparison.
- Ignoring ember damage after a regional fire. If a wildfire has burned anywhere in the county, check your attic for smoke smell and have the roof inspected before the first rain. The cost of an inspection is much smaller than the cost of an interior water damage repair.
- Leaving a tarp in place through the next wind event. A tarp that’s been sitting for weeks has been weakened by sun and wind. Either get the temporary repair finalized or get it removed before the next wind event tears it away and takes shingles with it.
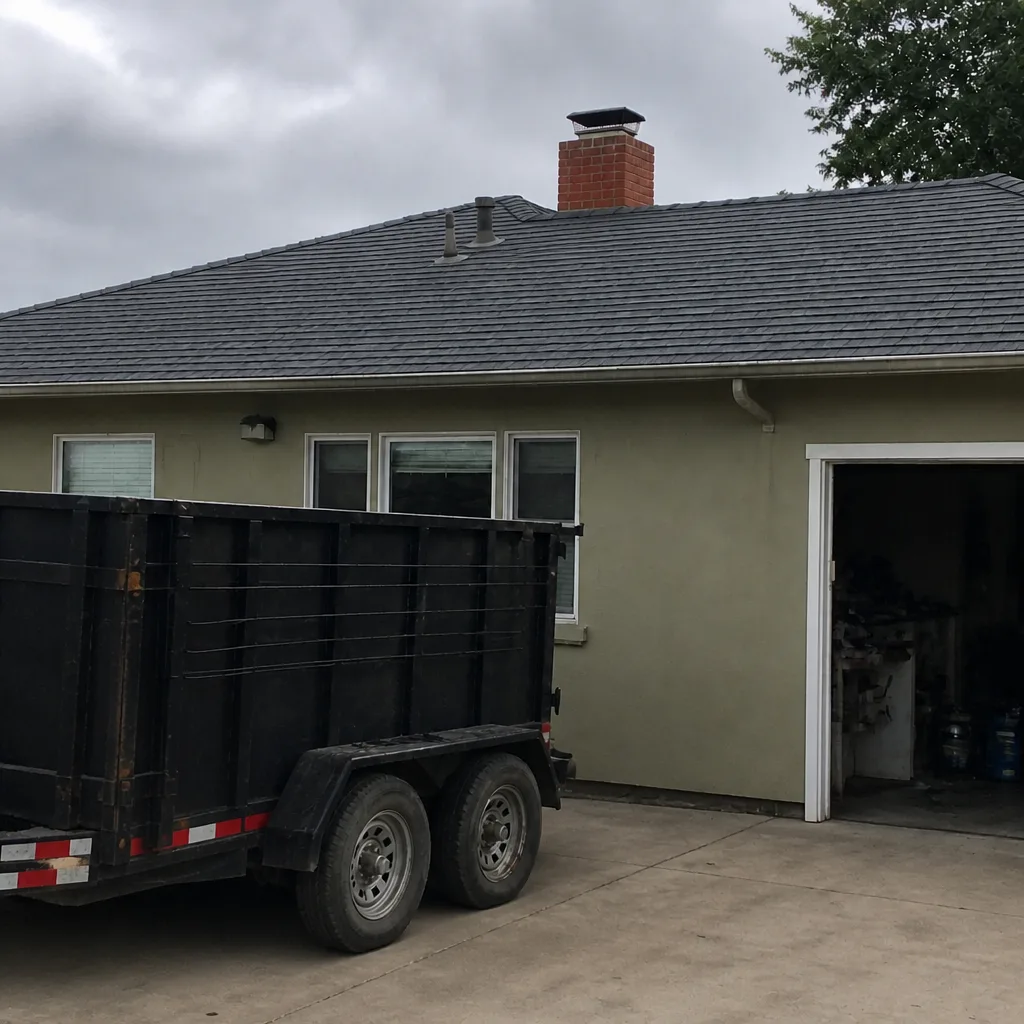
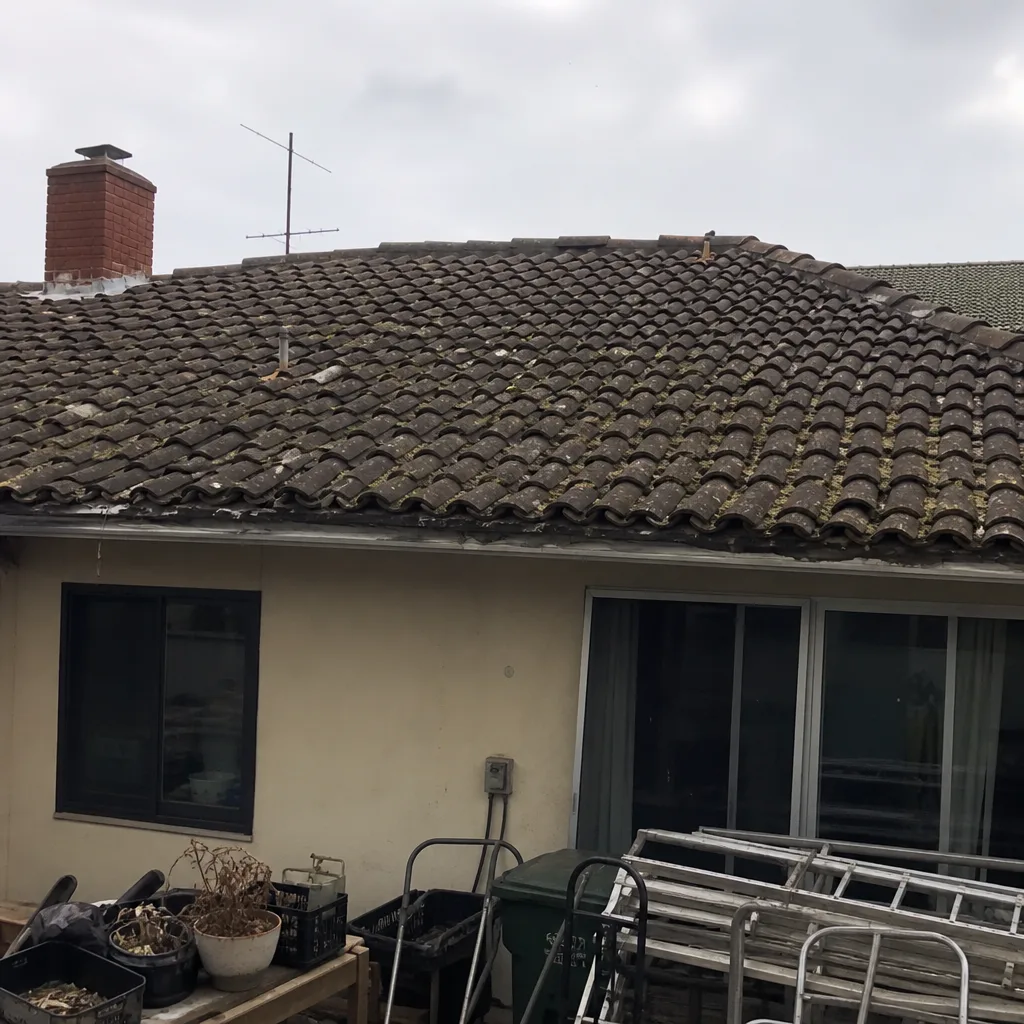
See the difference
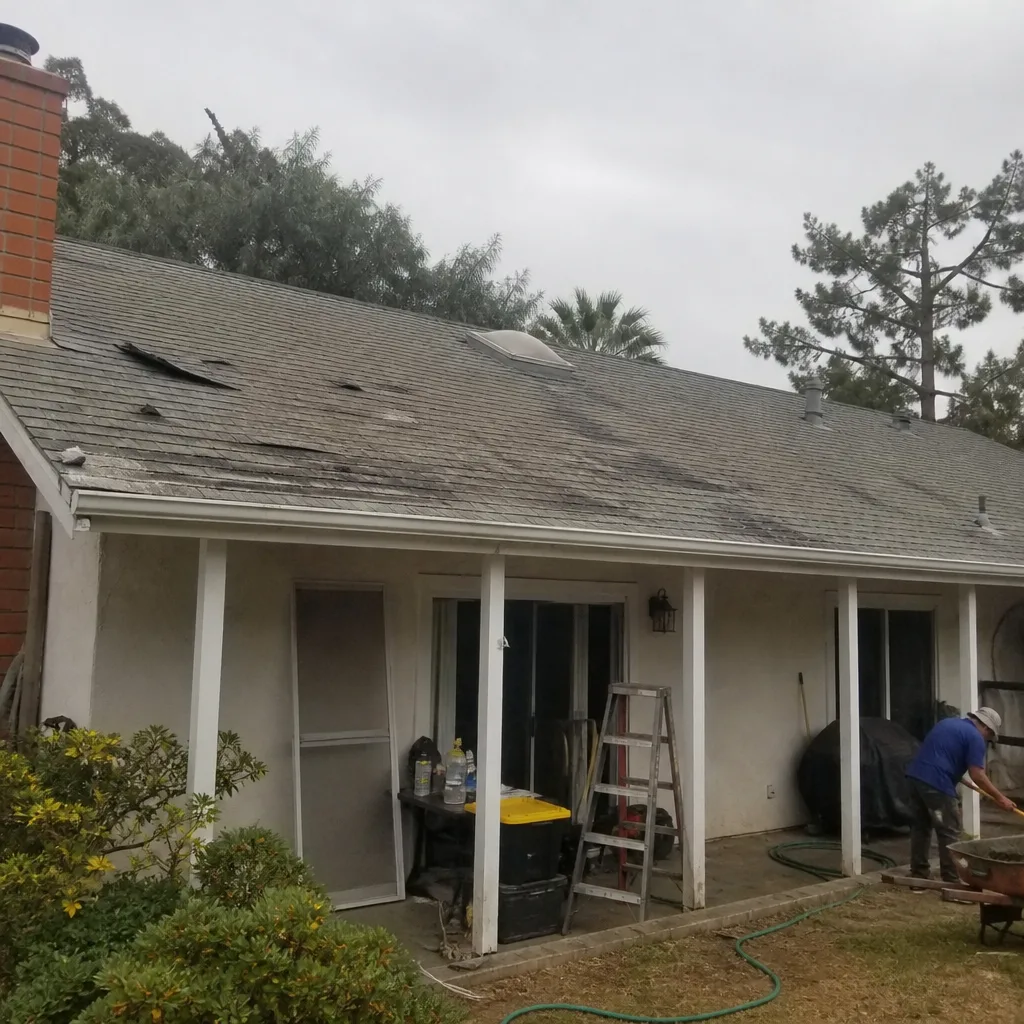 Before
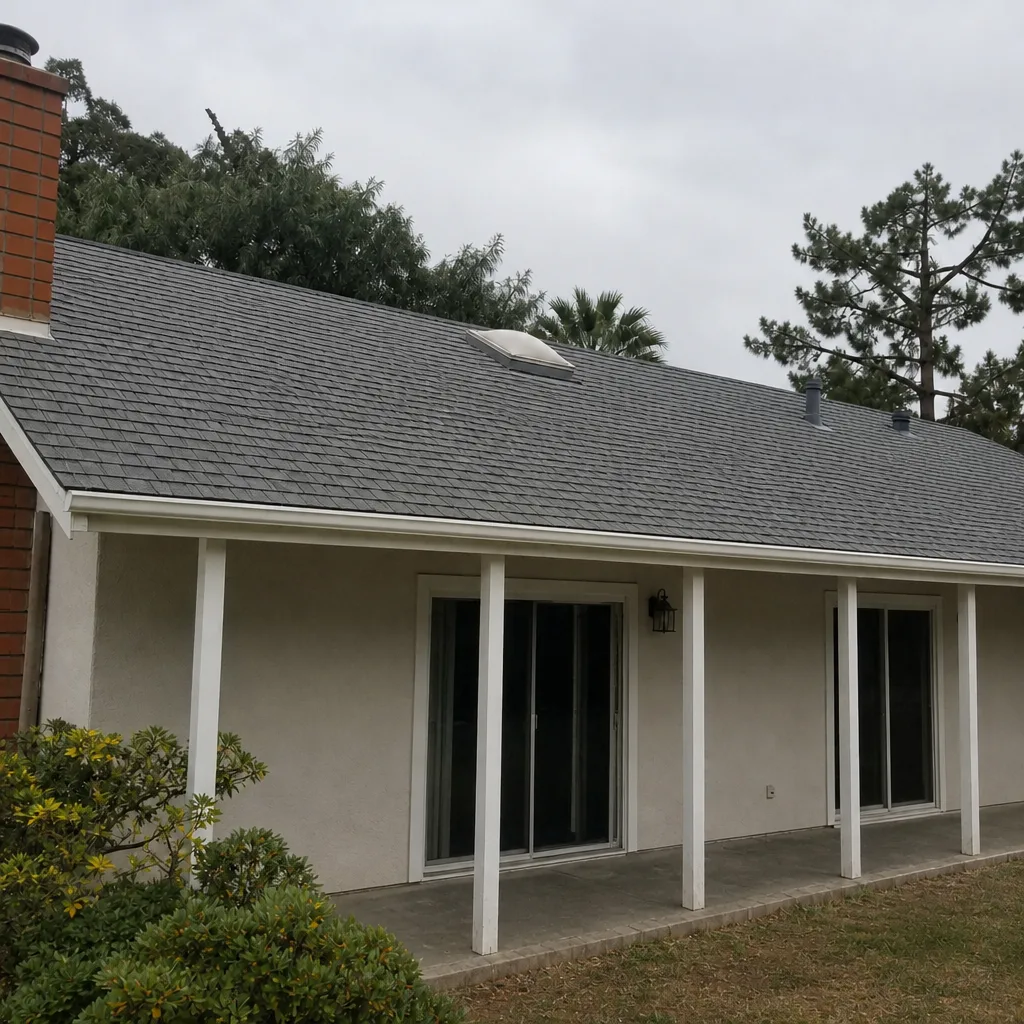 After
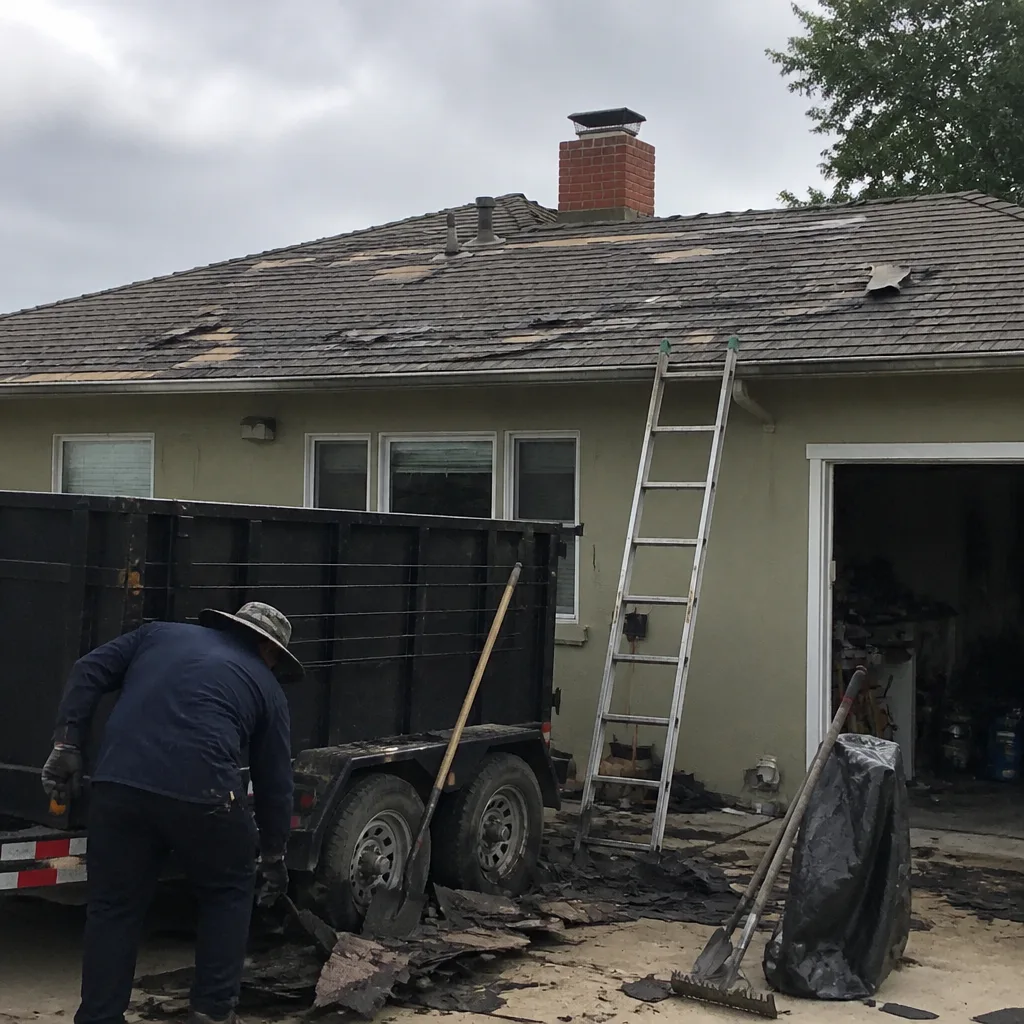 Before
 After
 Before
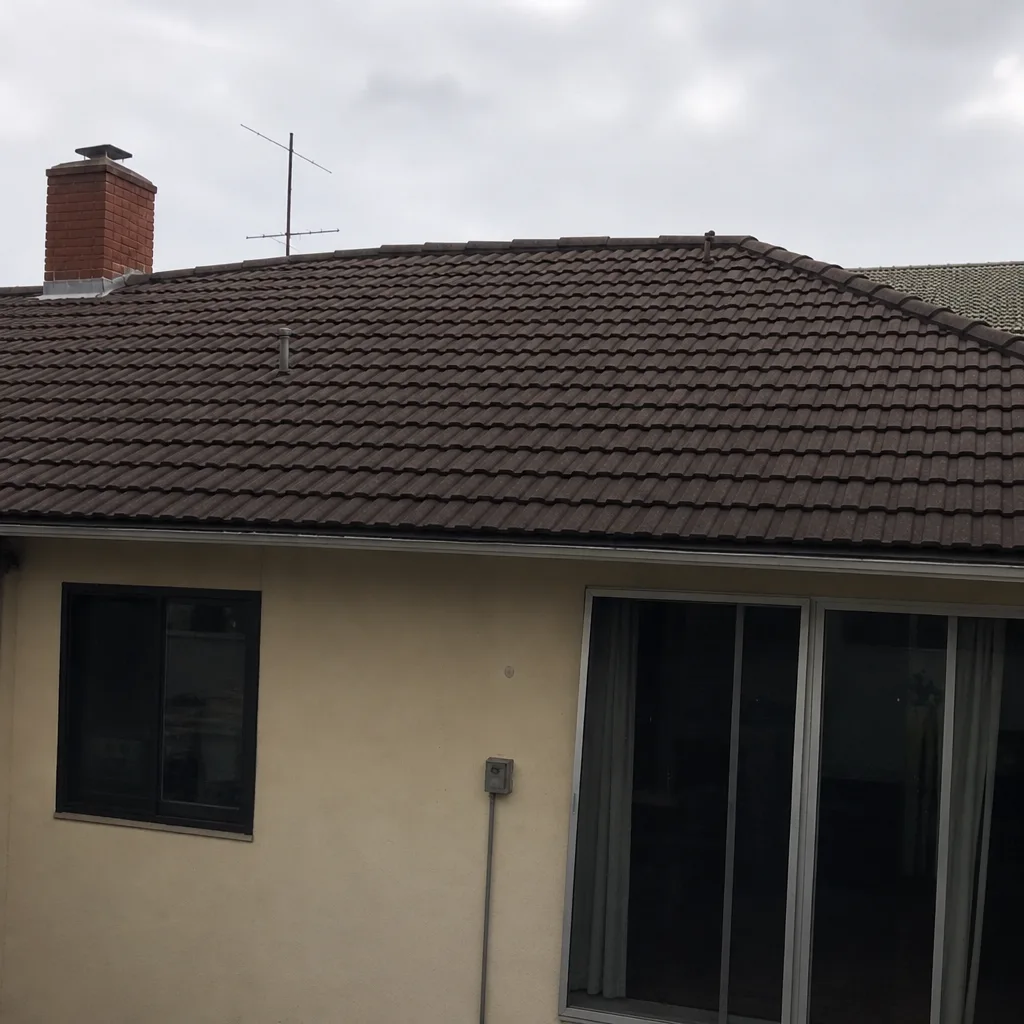 After
When to Call a Professional
Some roof issues are small enough to note and address at the next regular inspection. Others need a call the day you see them. Call a professional immediately if you hear a roof section lifting or flapping during a wind event, if you see any new water stain on a ceiling or wall, if you smell smoke or scorching in the attic after a regional fire, if shingles or flashing are visibly hanging loose, or if you have any doubt about whether a small leak is getting worse. In a genuine emergency, don’t wait for a dry day – water intrusion gets more expensive by the hour. Call (833) 946-8911 for same-day response. We answer 24/7. Fast dispatch from 7am to 7pm, Sunday through Friday. Hartwell Roof Repair offers a full written inspection and repair report, and the written estimate sets the final price. If you’re looking at a much bigger job after the inspection, our roof repair team can assess the damage and give you a clear picture of what’s actually needed before anyone talks about a roof replacement.
Frequently Asked Questions
Anything that lets water into the house or threatens structural safety. That means active leaks, missing or lifted shingles after a wind event, visible daylight through the roof deck, or a ceiling that’s bulging with trapped water. A single cracked shingle with no leak is not an emergency, but it should be inspected before the next storm. If you can see water inside, call (833) 946-8911 and start the process immediately. We answer 24/7, with fast dispatch from 7am to 7pm, Sunday through Friday.
You won’t always see burn marks, which is why ember damage is the hardest to spot. Look for a smoke or scorch smell in the attic, dark discoloration around ridge vents or valley openings, and any new attic dust pattern that appeared after a regional fire. The only way to know for sure is a professional inspection that checks the underlayment condition, not just the shingle surface. Call (833) 946-8911 to schedule an inspection.
Usually yes, if the lifted shingles have broken their seal and the roof is no longer watertight. The key is documenting the condition before any repair is made. Take photos from the ground showing the lifted or flapping shingles, and get a written inspection report that identifies the cause. Your insurer determines coverage, but a clear inspection report gives you the best chance of getting the claim approved. Call us for an inspection before you file; the report will support your claim.
Get everyone clear of the damaged area, photograph the damage from the ground, open the insurance claim, and call a professional for an inspection. Don’t get on the roof. Don’t attempt a permanent repair. Don’t sign anything. The first-hour priorities are safety, documentation, and a professional assessment. Call (833) 946-8911 for same-day emergency inspection.
A tarp is a 24- to 72-hour bridge to a permanent repair, not a long-term solution. After a few days, sun and wind start to weaken the material, and a tarp that fails in the next wind event can tear away and take shingles with it. If the tarp is still needed after three days, schedule the permanent repair. If you’re not sure whether the tarp is correctly placed, get an inspection to confirm it’s doing its job rather than channeling water into the roof.
Your material choice affects what a repair can match, not whether a claim is covered. If your existing roof uses a common shingle line, your contractor should be able to match it during a repair. Because we install and service across major lines including CertainTeed, Owens Corning, IKO, and Atlas, we can often match existing shingles and preserve both the roof’s appearance and the manufacturer warranty continuity. If the repair requires a full replacement, we’ll tell you that after inspection, and the written estimate will show the full picture. Call (833) 946-8911 for an inspection and a clear material recommendation.
The Bottom Line
Roofing emergencies in Ventura don’t follow the national playbook. Santa Ana wind events, wildfire embers from distant fires, and post-drought rain saturation are the three triggers, and each one has its own early warning sign and its own response sequence. The preparation that matters most is the boring kind: a current roof inspection, a photo record of your roof’s condition, your insurance details on paper, and a contractor you can reach quickly. When an event hits, document first, protect second, and get a professional on the roof before you sign anything. If you’re ready to put that preparation in place, or a storm has already arrived, call (833) 946-8911. We answer 24/7. Fast dispatch from 7am to 7pm, Sunday through Friday. Every job starts with a written estimate, and the written estimate sets the final price.
Written by the team at Hartwell Roof Repair.